Most websites have never had their images properly looked at. Not really. Someone uploaded a photo three years ago, it went live, and nobody has touched it since. That photo might be 2 MB. It might be a PNG that should be a JPEG. It might be 3000 pixels wide and displayed at 300. Nobody knows, because nobody checked.
This is where most page speed problems actually come from. Not clever JavaScript bundles or missing gzip, just images sitting there at their original camera size, quietly making every visitor wait.
The good news: finding the problem takes about 60 seconds. Fixing it takes a bit longer, but you cannot fix what you have not found.
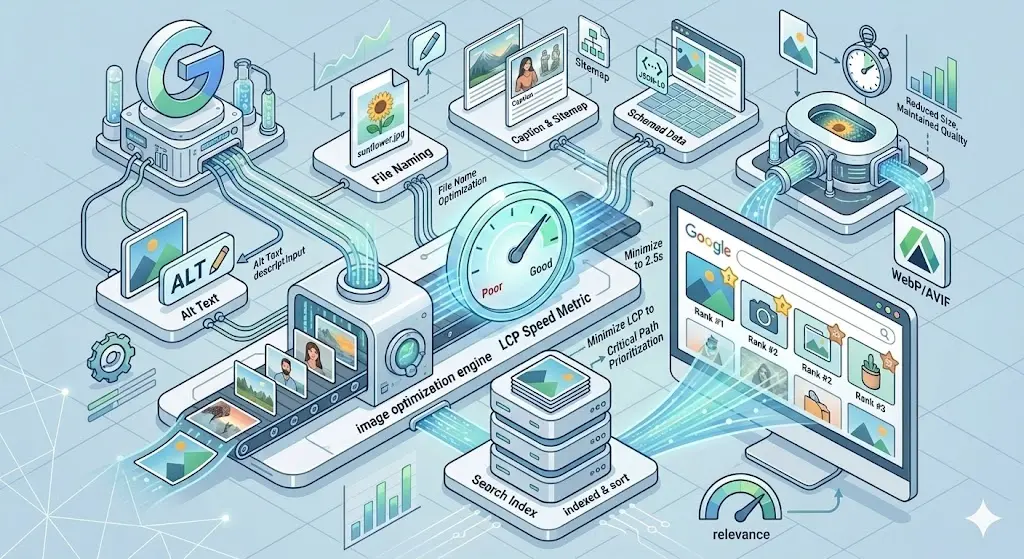
What the Analyzer Actually Tells You
Drop any public URL into ZeroPNG's Web Image Analyzer and it fetches the page, finds every image on it, and shows you a table with five things for each one:
- File name and format - the actual filename as served, with a badge showing whether it's PNG, JPG, WebP, or something else
- Resolution - the image's native pixel dimensions (e.g., 2048×1366)
- Original size - how many kilobytes the browser actually downloads right now
- Compressed size - what that same image would weigh after compression, with the percentage saved shown in green
- WebP size - what it would weigh converted to WebP format, with its own percentage saving
You can preview and download either the compressed version or the WebP version directly from the results table. Once you've worked through the list, grab everything at once with the Download ZIP button.
That's the whole tool. No sign-up, no configuration, no waiting. Type a URL, click Analyze, read the numbers.
How to Actually Read the Numbers
The two percentage columns tell you different things, and knowing which one to act on matters.
The compressed column shows how much smaller the image gets just through better compression in the same format. A JPEG that's 221 KB original might compress to 55 KB without any format change. That's a 75% reduction from compression alone, and it's completely free quality-wise at typical viewing sizes.
The WebP column shows the saving from switching formats entirely. The same image at 100 KB in WebP is already much better than 221 KB JPEG, but if the compressed JPEG is already 55 KB, the case for converting it to WebP gets weaker. You're looking at diminishing returns at that point.
So the decision rule is pretty simple. If the compressed saving is huge (say, over 60%), compress it and stay in the same format. If both savings are significant and you're optimizing for a website where browser support for WebP is guaranteed (which it basically is everywhere in 2026), go with WebP. If you just need a smaller file to attach to an email or upload to a CMS, the compressed version is almost always enough.
What the Resolution Column Is Telling You
The resolution field gets overlooked but it's often the most important number on the page. If you see an image at 2048×2048 pixels and you know it's used as a small thumbnail on your site, you're serving roughly 16× more pixels than the browser needs. Compression can only do so much when the underlying image is that oversized.
The fix there isn't just to compress the image, it's to resize it first. A 400×400 thumbnail should be served at 800×800 maximum (double for retina screens), not 2048×2048. Once you've brought the dimensions down to something sensible, compression takes it the rest of the way.
ZeroPNG's Image Compressor has a Max Width setting that handles both steps in one go. Set it to 800 pixels, run it at quality 80, and you've turned a 2 MB image into something well under 100 KB without any visible difference on screen.
Starting With the Worst Offenders
A typical homepage might have 30 to 80 images. Some of them are tiny icons that barely register. A handful of them are causing most of the damage. Start there.
Look for images where the original size is over 200 KB. Those are your immediate priority. Then look for anything where the percentage saving is above 60%: that number is telling you the image was never properly compressed in the first place. A 75% compression saving on a live production image means someone uploaded a raw export from Photoshop or a direct camera photo and it's been sitting there ever since.
You don't need to fix every image. On most sites, the five largest images account for 70% or more of total image weight. Fix those first. The long tail of small images can wait.
PNG vs JPG: What the Format Badge Reveals
The format badge next to each filename tells a quiet story. If you're seeing PNG badges on photographs (not icons or screenshots, actual photos) that's usually a sign someone exported from a design tool without thinking about format. PNG is lossless, which sounds appealing, but for photos it produces files that are four to six times larger than an equivalent JPEG with no visible quality benefit. Convert those to JPEG or WebP immediately.
On the other hand, if you see JPG badges on images that are supposed to have transparent backgrounds, that's a problem in the other direction. JPEG doesn't support transparency, so you'll see a white or black box where the transparent area should be. Those need to stay as PNG or get converted to WebP.
The rule is: photographs go JPEG or WebP. Anything with transparency stays PNG or goes WebP. Icons and line art ideally go SVG. Once you know the format and what it should be, the decision is fast.
The Compressed vs WebP Download Decision
After the analyzer runs, you get two download options per image: the compressed version and the WebP version. Which one to use depends on where the image is going.
For websites and web apps, WebP is the better choice in almost every case. Browser support is essentially universal in 2026, it's smaller than JPEG at the same quality, and it supports transparency which means you can use it for both photos and graphics. If you're uploading to WordPress, Shopify, or most modern CMS platforms, WebP works fine.
For everything else (email attachments, print, apps that don't support WebP, sharing with clients who might open the file in older software) take the compressed JPEG or PNG. It's universally compatible and still much smaller than the original.
Running the Audit on Other Sites
The analyzer works on any public URL, not just your own. There's real value in pointing it at a competitor's site or a site you admire in your industry. You can see what formats they're using, how well they've compressed their images, and whether they're leaving performance on the table. If a competitor is serving uncompressed 1 MB hero images and you're serving 80 KB WebP files, that's a measurable advantage in page load time that eventually shows up in rankings.
It's also useful for auditing sites you've built for clients over the years. Run it against every site you're responsible for, pick out the ones with the worst average savings percentages, and you've got a prioritized list of work that will have real impact.
After the Audit: The Fix Workflow
Once you know which images need attention, the actual fixing is straightforward:
For images that are oversized in both file size and resolution, use the Image Compressor with the Max Width setting to resize and compress in one step. Quality 80 is a good starting point for most photographs. You can drop to 70 for thumbnails and background images without any perceptible change.
For PNG photographs that should be JPEG or WebP, use the Image Converter. Drop in a batch of them, select WebP as the output format, and download them all at once as a ZIP. Then replace the originals in your CMS.
If you're working through a large backlog, do it in batches by page rather than trying to fix everything at once. Audit one page, download the optimized versions, replace them in your CMS, re-run the analyzer to confirm the savings landed, then move to the next page. It takes longer than a bulk operation but you can see the impact as you go, which is genuinely motivating when you're watching the numbers drop.
How Often to Run It
Once is not enough. Images accumulate on websites over time, and standards drift. Someone uploads a raw export this month, a plugin embeds a heavy image next month, and six months from now you're back where you started.
A quick audit of your top five pages once a month takes maybe ten minutes. That's enough to catch regressions before they compound. For high-traffic pages where load speed directly affects conversions, run it before and after any significant content update.
The 60 seconds it takes to run is genuinely worth the habit. Most of the performance wins on established websites are not clever optimizations. They're catching images that slipped through without anyone noticing and fixing them before they've been slow for a year.
See What Your Site's Images Actually Weigh
Paste any URL into ZeroPNG's Web Image Analyzer and get a full breakdown in seconds. No account, no install, no uploads.
Analyze Your Site Free