Most free image compressors have a hidden cost: your images. They upload your files to a remote server, process them there, and hand them back. You have no visibility into what happens in between - how long files are retained, who can access them, or where they are stored.
We will cover why browser-based compression works, which tool to use, and how to get the best results for photographs, screenshots, and web graphics.
The Problem With Most Bulk Image Compressors
Before getting into the how-to, it is worth understanding what is actually happening when you use a server-based tool like TinyPNG, iLoveIMG, or Compress.io.
When you drop images into those tools, here is the actual sequence:
- Your image is uploaded over the network to their server
- A compression algorithm runs on their hardware
- The compressed file is sent back to your browser
- Your original file sits on their infrastructure until their deletion policy kicks in
For a single photo of your dog, this is probably fine. For 200 product photos for a client under NDA, for employee headshots, or for screenshots that contain private information - it is a meaningful risk.
The alternative is compression that runs entirely inside your own browser. No upload step. No server. Your files never cross a network boundary.
How Browser-Based Bulk Compression Works
Modern browsers ship with a Canvas API that can encode images natively. The process for each file looks like this:
- Your image loads into an in-memory HTMLImageElement
- It gets drawn onto an offscreen
<canvas>element canvas.toBlob()re-encodes it at your chosen quality level- The compressed blob is handed back to you as a downloadable file
For PNG files specifically, a library called UPNG.js applies colour quantization - reducing the palette from 16 million possible colours to a smaller set (between 16 and 256 depending on quality setting). This is the same technique TinyPNG uses on their server. The difference is that here, it runs on your CPU in your browser tab.
Because there is no network round-trip, bulk compression in the browser is often faster than server-based tools - especially when your upload connection is slow.
Step-by-Step: How to Bulk Compress Images for Free
Here is the exact process using ZeroPNG - a free, browser-native image compressor with no file limits, no account requirement, and no uploads.
Step 1 - Open ZeroPNG in Any Browser
Go to zeropng.com in Chrome, Firefox, Safari, or Edge. No sign-up screen. No cookie consent wall. The compressor loads immediately.
ZeroPNG works on desktop and mobile. On mobile, you can compress photos directly from your camera roll.
Step 2 - Drop All Your Images at Once
Drag your entire folder of images into the drop zone. ZeroPNG accepts:
- JPEG / JPG - photographs, product images
- PNG - screenshots, logos, graphics with transparency
- WebP - modern web images
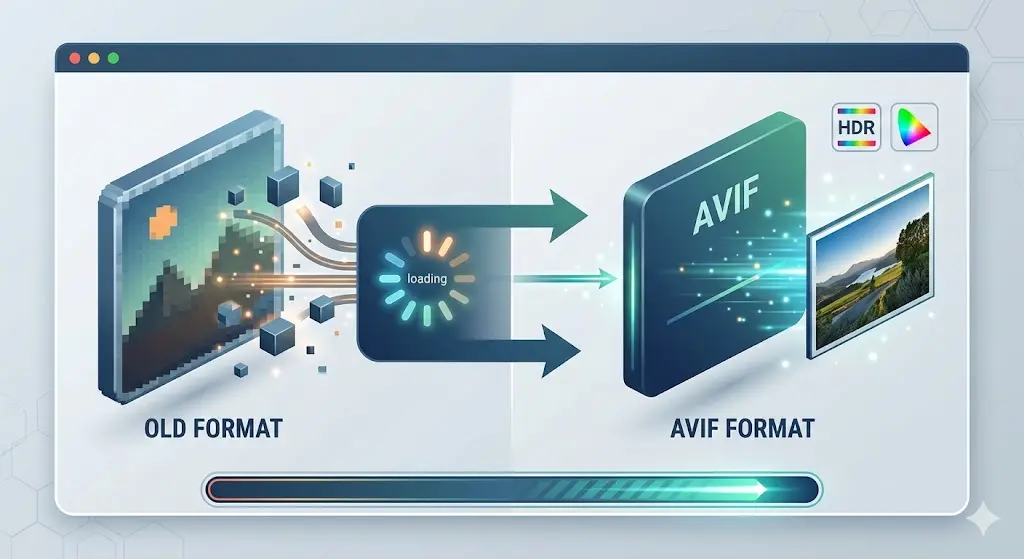
- AVIF - next-generation format
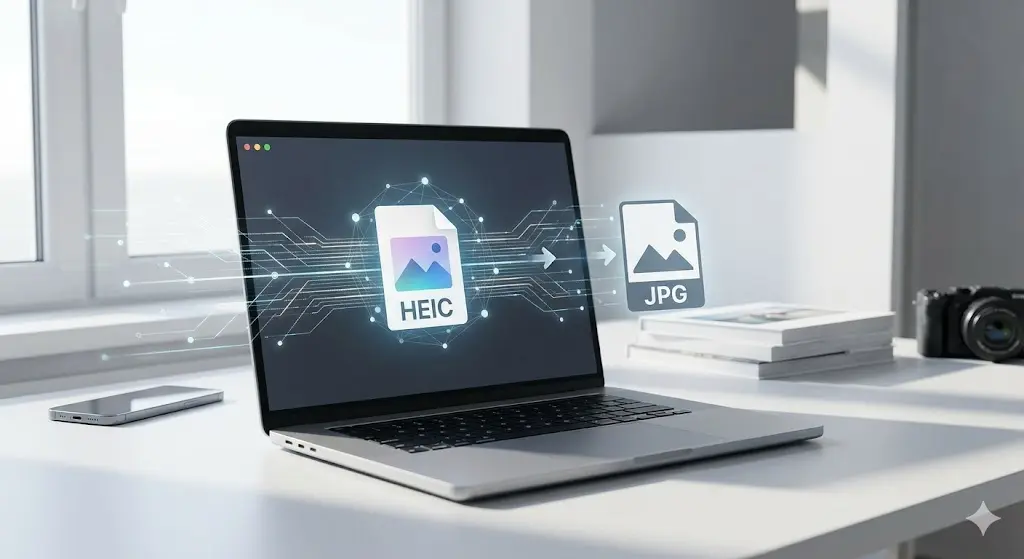
- HEIC / HEIF - iPhone and iPad photos
- GIF - animated or static
You can drop hundreds of files in one go. There is no artificial cap on how many images you can process.
Step 3 - Choose Your Output Settings
Three settings matter:
Quality (1-100)
For photographs, 75-85 is the sweet spot - file sizes drop 50-70% with no visible quality loss at normal
viewing size. For images that will be printed, stay above 85. For thumbnails or social media previews, you can
go as low as 65.
Output Format
- Keep "Original" to stay in the same format
- Choose "WebP" to get 25-35% smaller files than JPEG at equivalent quality - recommended for websites
- Choose "AVIF" for the maximum size reduction if all your users have modern browsers (Chrome 85+, Firefox 93+, Safari 16+)
- Choose "JPEG" to convert PNG photographs that do not need transparency
Max Width
Set a pixel limit to resize images during compression. For blog post images, 1200px is sufficient. For
ecommerce thumbnails, 800px. Leave at zero to keep original dimensions.
Step 4 - Click Compress All
ZeroPNG processes files in parallel using your CPU's available cores - typically 4-6 files simultaneously. A 50-image batch at quality 80 takes roughly 10-20 seconds on a mid-range laptop.
You will see a live progress bar and per-file size reduction percentages as files complete.
Step 5 - Download as ZIP
Once all files are done, click Download All (ZIP). All compressed images are packaged into a single ZIP file with preserved filenames. The ZIP download happens entirely in the browser - no server involved at that stage either.
How Much Can You Actually Save?
Results depend heavily on the source material. Here are typical outcomes from real use:
| Source Type | Format | Average Reduction | Quality Impact |
|---|---|---|---|
| DSLR photograph (24MP) | JPEG → JPEG (q80) | 60-75% | None visible at web size |
| iPhone photo | HEIC → WebP (q80) | 70-80% | None visible |
| Screenshot (macOS) | PNG → PNG (UPNG) | 55-70% | None visible |
| Logo with transparency | PNG → PNG (UPNG) | 40-60% | Check small text carefully |
| Product photo (white bg) | JPEG → WebP (q80) | 65-80% | None visible |
| Icon / illustration | PNG → PNG (UPNG, q90) | 30-50% | Check gradients |
For a typical ecommerce product catalogue of 100 images at 2-4 MB each, bulk compression with ZeroPNG brings the total from 200-400 MB down to 50-80 MB.
Comparing Free Bulk Image Compressors
Not every browser-based tool handles bulk compression the same way. Here is how the main options stack up:
| Feature | ZeroPNG | Squoosh | TinyPNG Free | iLoveIMG |
|---|---|---|---|---|
| Files per session | Unlimited | 1 at a time | 20/month limit | 30 at a time |
| Privacy (client-side) | Full - zero uploads | Full - zero uploads | No - server upload | No - server upload |
| HEIC support | Yes (WASM) | No | No | No |
| WebP/AVIF output | Yes | Yes | WebP only | No |
| Batch ZIP download | Yes | No | Yes | Yes |
| Works offline (PWA) | Yes | No | No | No |
| File size limit | 20 MB | No limit | 5 MB free | 30 MB |
| Account required | No | No | No | No |
The clearest differentiator for bulk use cases is the file limit. TinyPNG's free tier caps you at 20 compressions per month. If you are processing a product catalogue update of 200 images, you either pay or split the job across multiple months. Squoosh has no limit but processes only one image at a time, making it impractical for batches.
When to Use Each Output Format
Choosing the right format makes a larger difference than the quality slider.
Use JPEG when:
- Your images are photographs with no transparency
- You need maximum compatibility (email attachments, legacy systems, printing)
- You are compressing for a CMS that re-encodes on upload anyway
Use PNG when:
- Your image has transparency (logos, icons, UI elements)
- Your image contains sharp text overlays or hard edges
- You need lossless quality for a master file
Use WebP when:
- You are compressing for a modern website or app
- You want the best quality-to-size ratio for photographs
- Your audience uses Chrome, Firefox, or Safari 14+ (effectively everyone in 2026)
Use AVIF when:
- You are building a performance-critical website (Core Web Vitals)
- Your audience is on modern hardware and browsers
- You want the smallest possible files without visible quality loss
For most web use cases in 2026, WebP at quality 80 is the right default answer.
Use Cases: Who Bulk Compresses Images and Why
Web Developers and Designers
Uncompressed images are one of the leading causes of poor Core Web Vitals scores. Google's Largest Contentful Paint (LCP) metric is heavily influenced by image load time. A page that loads product images at their original 3 MB size versus their 400 KB compressed version can see LCP improve from 6 seconds to under 2 seconds - moving from "Poor" to "Good" on Google's scale.
Compressing a full design asset folder before handing off to developers takes under two minutes with ZeroPNG.
E-commerce Sellers
Product photography comes off modern cameras at 4-8 MB per image. Shopify, WooCommerce, and other platforms do some re-encoding on upload, but not enough. A product catalogue of 500 images at 5 MB each is 2.5 GB - slow to load, expensive to serve. Bulk compressing before upload brings that to under 500 MB.
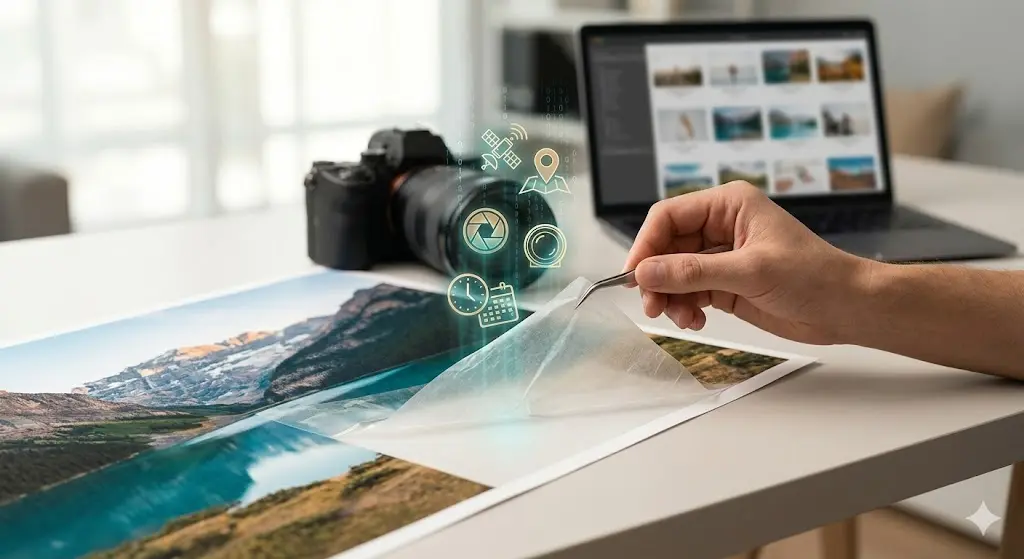
Photographers and Videographers
When delivering edited images to clients, a gallery of 200 RAW-processed JPEGs at full resolution can be 600 MB or more. Bulk compressing to a web-delivery version takes minutes and makes the gallery load instantly for clients on mobile.
HEIC support is particularly important here - photographers shooting on iPhone or newer mirrorless cameras producing HEIC files can convert and compress the entire batch in one operation.
Healthcare and Legal Professionals
This is the use case where server-based tools become a genuine compliance issue. Compressing a JPEG of a patient intake form, a photo of a wound, or a screenshot of a legal document using TinyPNG means that image leaves your device and travels to a server in the Netherlands.
Browser-based compression means none of that data crosses a network boundary. The image never leaves the hospital or law office device it was created on.
Content Creators and Bloggers
A blog with 300 posts and an average of 5 images per post is carrying 1,500 images. At 1 MB each uncompressed, that is 1.5 GB of image payload contributing to slow page loads. Bulk compressing a full media library before migration - or setting up a workflow to compress before every upload - is the highest-ROI performance task most bloggers never do.
Tips for Getting the Best Results
- Do not compress twice. Applying lossy compression to an already-compressed JPEG stacks quality loss. Always start from the original or highest-quality version you have. ZeroPNG outputs a separate compressed file and never overwrites your original.
- Test your compression settings on a single image first. Open the preview slider to compare before and after at your chosen quality level. Find the minimum quality where you cannot see the difference, then apply that setting to the full batch.
- Use the max width setting for responsive images. If your website displays images at a maximum of 1200px wide, there is no reason to store or serve a 4000px image. Resizing during compression saves dramatically more than quality reduction alone.
- Convert PNG photographs to JPEG or WebP. Many designers export photographs as PNG out of habit. A PNG photograph of a landscape will be 5-10x larger than the same image as a JPEG or WebP. If the image has no transparency, there is no reason to use PNG.
- Preserve PNG for anything with transparency. Do not convert logos, icons, or interface graphics to JPEG - you will get white or black corners instead of transparent backgrounds.
Frequently Asked Questions
Does bulk compressing images in the browser work offline?
Yes. ZeroPNG is a Progressive Web App. After your first visit, a Service Worker caches the application. You can disconnect from the internet and compress images without interruption. This makes it usable on planes, in secure facilities with network restrictions, or anywhere without reliable connectivity.
What happens to my images after compression?
Nothing, because they never left your device. The compression happens in your browser tab's memory. When you close the tab or clear the file queue, the data is gone. ZeroPNG does not log filenames, image contents, or any information about what you compress.
Is there a limit on how many images I can compress?
No. ZeroPNG processes files in parallel batches using your available CPU cores. A session limit of 20 images (like TinyPNG's free tier) or single-file processing (like Squoosh) do not apply. The practical limit is your device's RAM - most modern computers handle 200+ images in a single session without issue.
Can I compress images on an iPhone or iPad?
Yes. ZeroPNG works in Safari on iOS. You can compress photos directly from your camera roll. HEIC files from your iPhone camera are supported and can be converted to JPG or WebP in the same operation.
How does browser compression compare to server-side tools in terms of output quality?
For JPEG and WebP compression, the Canvas API produces results within 2-5% of TinyPNG at equivalent quality settings. For PNG, ZeroPNG uses the same UPNG.js library that powers several server-based tools - the output is functionally identical to what you would get from TinyPNG, but it happens on your device instead of theirs.
Does compression strip location data from my photos?
Yes, automatically. The Canvas API re-encodes images at the pixel level. EXIF metadata - which includes GPS coordinates, camera make and model, and timestamps - is not pixel data and is not carried through to the output file. Compressing with ZeroPNG strips location data as a side effect of how the browser's image encoder works. You do not need a separate EXIF removal step.
The Quick-Start Checklist
If you want to compress a batch of images right now, here is the one-minute workflow:
- Go to zeropng.com
- Drag your images (or entire folder) into the drop zone
- Set Quality to 80 and Format to WebP for web images
- Click Compress All
- Click Download All (ZIP) when done
No account. No upload. No cost. Your files stay on your device the entire time.
Experience Edge Compute
ZeroPNG is a free, browser-native image compressor. All compression happens on your device using the Canvas API and WebAssembly. Nothing is uploaded to any server.
Start compressing →