At some point almost everyone hits the same wall. You have a photo of a product, or a headshot, or a logo, and you need it without the background. Maybe a marketplace wants your item on plain white. Maybe you are dropping a portrait into a slide deck. Maybe you just want a clean PNG of your logo so it stops sitting in an ugly white box.
So you search "remove background from image," click the first result, and within thirty seconds you run into the catch. The free version watermarks your download. Or it hands you back a tiny low-resolution preview and asks for your card before it releases the full file. Or it makes you create an account first. The actual cutout took the computer half a second. Everything else was friction designed to get your money or your email.
You do not need any of that. Below is how to get a genuinely free, full-resolution, watermark-free cutout, plus the small tricks that separate a clean result from a sloppy one.
The Short Version
If you are in a hurry, here is the whole thing in four steps:
- Open the AI Background Remover.
- Drag your photo in, or click to pick it from your device.
- Wait a couple of seconds while it processes (it runs on your own machine, so there is no upload).
- Download the transparent PNG.
That is it. No account, no watermark, no resolution limit, no "upgrade to download." The rest of this guide is for when you want the result to look really good, and for what to do with the cutout once you have it.
What "Free" Usually Costs You Somewhere Else
It helps to know what you are avoiding. Most popular background removers are free in the way a free puppy is free. The common traps:
- Watermarks. The cutout looks perfect on screen, then you download it and there is a logo stamped across your subject. Removing it means paying.
- Resolution caps. You upload a sharp 4000 pixel photo and get back a fuzzy 600 pixel preview. The full size sits behind a paywall.
- Forced sign-ups. Before you can do anything you are handing over an email address that will be selling you "credits" by next Tuesday.
- Credit systems. You get three free images, then you are out until next month or until you subscribe.
- Quiet uploads. The biggest one nobody talks about: your photo gets sent to someone else's server to be processed. For a product shot that might be fine. For a passport scan, a client contract, or a personal photo, it is not.
The way around all five at once is a tool that does the work in your browser instead of on a server. Which brings us to how this actually works.
Removing the Background, Step by Step
Here is the full walkthrough using ZeroPNG's AI Background Remover. The reason it is free with no catch is that it does not run on a server at all. The AI model loads into your browser the first time you open the tool, and from then on every photo is processed on your own device. Your image never gets uploaded anywhere. That is also why there is nothing to charge you for: there is no server bill to pass on.
Step 1: Open the tool. The first visit downloads the model, so give it a moment. After that it is cached and loads fast.
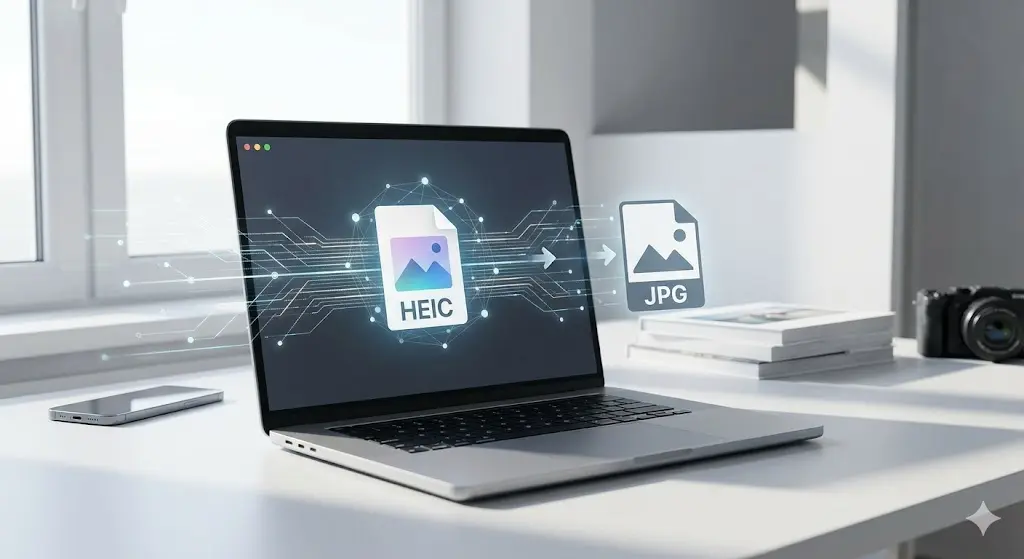
Step 2: Add your image. Drag a file straight onto the page, or click to browse. PNG, JPG, and WebP all work. If you snapped the photo on an iPhone and it is a HEIC file, run it through the HEIC Converter first, then bring it back here.
Step 3: Let it process. The tool finds your subject, separates it from everything behind it, and makes the background transparent. On a typical photo this takes a couple of seconds. A very large image takes a little longer because your device is doing real work, not because something is uploading.
Step 4: Check the edges, then download. Look closely at the outline of your subject before you save. Most of the time it is clean and you can download the transparent PNG straight away. If something looks off, the next section covers how to fix it.
Getting Edges That Actually Look Clean
A background remover is only as good as its hardest edges. Flat shapes are easy. The places where cutouts go wrong are hair, fur, fine detail, and anything see-through. A few habits make a real difference here, and most of them happen before you ever open the tool.
Start with good contrast. The single biggest factor is how clearly your subject stands out from what is behind it. A dark jacket against a dark sofa is hard for any tool, human or AI. A person against a plain wall is easy. If you are taking the photo yourself, put some separation between the subject and the background, and avoid having them blend into similar colors.
Mind the lighting. Even, soft light gives the cleanest edges. Harsh shadows can read as part of the subject or part of the background depending on where they fall, which confuses the cut. Shooting near a window on an overcast day is often better than direct sun.
Hair and fur need a clean backdrop. Wispy strands are the classic failure point. If hair detail matters and you have any control over the shot, photograph the subject against a plain, contrasting background. A blonde head against a white wall is much harder than the same head against a soft blue one.
Glass, smoke, and water are genuinely tricky. Anything semi-transparent does not have a clean boundary, so expect to do a little cleanup on a wine glass or a glass bottle. This is true of every background remover on the market, free or paid. It is a limit of the problem, not the tool.
If your photo is high contrast and well lit, you will usually get a result you can use immediately. If it is a messy real-world snapshot, a slightly imperfect cut is normal, and it is still far faster than masking it by hand.
What to Do With the Cutout
A transparent PNG is the starting point, not the finish line. What you do next depends on where the image is going.
Keep it transparent. For logos, icons, and anything you will place on top of other content, the transparent PNG is exactly what you want. It will sit cleanly on any color or photo behind it.
Drop it onto a new background. Marketplaces and a lot of product catalogs want a plain white or solid color background. Take your cutout into an editor and place it on the color you need. For ecommerce, a pure white background is the safe default almost everywhere.
Shrink the file before you publish it. Transparent PNGs can get heavy, especially at full resolution. If the image is going on a website, run it through the Image Compressor afterward, or convert it to WebP with the Image Converter. WebP keeps the transparency and is much smaller than PNG, which means faster pages.
Resize it for the job. A profile picture does not need to be 4000 pixels wide. The Image Resizer brings it down to the exact size you need, which also drops the file size further.
Where People Actually Use This
The same four steps cover a surprising range of real tasks:
- Selling online. Clean product shots on white are basically required on most marketplaces. Removing the messy background of a phone photo turns a kitchen-table snapshot into a listing photo.
- Profile and team photos. Cut out a headshot and place everyone on a consistent background so a team page or a deck looks like it belongs together.
- Logos and graphics. Got a logo trapped in a white rectangle? Strip the background and you have a transparent version that works on any color.
- Marketing and social. Cutouts are the raw material for thumbnails, ads, banners, and collages. Once the subject is isolated you can put it anywhere.
- Personal projects. Invitations, scrapbooks, stickers, memes. The fun stuff.
Why Doing It in Your Browser Matters
It is worth saying plainly, because it is the part most articles skip. When a background remover runs on a server, your photo leaves your device and lands on a computer you do not control. The company might delete it right away. It might keep it for a while. It might use it to train its models. You are trusting a privacy policy you did not read.
When the tool runs in your browser, none of that applies. The photo is processed in memory on your own machine and the result is saved straight to your downloads. You can prove it to yourself: load the page, turn off your wifi, and remove a background anyway. It still works, because nothing was ever going to the internet in the first place. For anything sensitive, an ID, a document, a private photo, that difference is the whole point.
Common Problems and Quick Fixes
The edges look jagged or rough. Usually a contrast problem. If you can, retake or pick a version of the photo where the subject stands out more from the background.
Part of my subject got deleted. This tends to happen when part of the subject is a similar color to the background, or is in deep shadow. More even lighting in the original photo fixes most of it.
Bits of the background are still there. Often shadows or reflections that the tool reads as part of the subject. A little manual cleanup in any image editor clears them up.
The first load is slow. That is the AI model downloading to your browser the first time. It only happens once, then it is cached and every photo after that is quick.
My file will not open. If it is a HEIC photo from an iPhone, convert it with the HEIC Converter first, then come back. PNG, JPG, and WebP all work directly.
Frequently Asked Questions
Is it really free, with no watermark? Yes. Full resolution, no watermark, no account, no credit limit. There is nothing to upgrade to.
Do I have to sign up? No. Open the tool and use it. There is no login.
Will my photos be uploaded anywhere? No. Everything runs in your browser on your own device. Your images do not leave your computer.
What is the best format to download? A transparent PNG, which is the default. If the image is going on a website, convert it to WebP afterward to keep the transparency at a smaller file size.
Can it handle hair and fine detail? It does a good job when the photo has decent contrast and lighting. Wispy hair against a busy background is the hardest case for any tool, so a clean backdrop in the original photo helps a lot.
Is there a limit on how many images I can do? No. Process as many as you like.
Remove a Background Right Now, Free
No watermark, no sign-up, no upload. ZeroPNG's AI Background Remover runs entirely in your browser, so your photos never leave your device. Drag in an image and download a clean transparent PNG in seconds.
Remove a Background Free